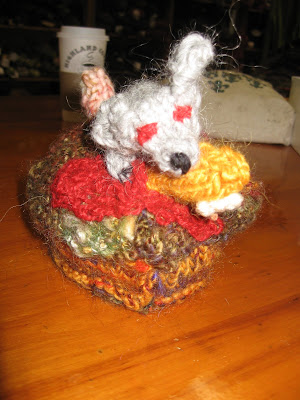
The Amigurumi fun of crochet is almost enough to make me pick up a hook.
However, my first love for fiber manipulation is knitting… And I am nothing if not loyal.
I got my inspiration to make these (for some upcoming birthdays) from the super cool FO (A freeform scrumble of a cannibal meat pie from Sweeney Todd! Complete with Rats, Roaches & 
I know there are patterns out there for cupcakes & cake slices galore. I just have a stubborn streak in me that likes to make up my own… Even if I might just be “reinventing the wheel.”
The principle is basic.
The product is fun.
Be warned: knitting cupcakes are addictive.
There is ALWAYS someone you love who needs one!
***(Seamless Disclaimer: the icing embellishments are sewn on for ease & individuation of each little cupcake. However, this is fun sewing (embroidery) not tedious seaming, so I think that doesn’t really count.)
Baker X’s Cupcakes
Yarn: Cheapo Dishcloth cotton (Pigsah’s Peaches & Cream, here) in appropriate colors
(I used yellow, white & assorted ombres)
Needles: US Size #5 dpns
Other Materials:
Poly-Fill
Yarn Needle
Cardboard or cut-able plastic for base
(Optional:beads & other embellishments)
Base of Cupcake:
With yellow yarn,
Row 1: Long Tail CO 8 sts
Row 2: Sl1, Purl
Row 3: Sl1, M1, K6,M1, K1=10 sts
Row 4: Sl1, Purl
Row 5: Sl1, M1, K8, M1, K1=12 sts
Row 6: Sl1, Purl
Row 7: Sl1, M1, K10, M1, K1=14 sts
Row 8: Sl1, Purl
Row 9: Sl1, Knit
Row 10: Sl1, Purl
Row 11: Sl1, Knit
Row 12: Sl1, Purl
Row 13: Sl1, Knit
Row 14: Sl1, Purl
Row 15: Sl1, K2tog, K8, PSSO, K1=12 sts
Row 16: Sl1, Purl
Row 17: Sl1, K2tog, K6, PSSO, K1=10 sts
Row 18: Sl1, Purl
Row 19: Sl1, K2tog, K4, PSSO, K1=8 sts
Row 20: Sl1, Purl
Row 21: Sl1, Knit
While keeping the live sts on one dpn, Pick up 22 sts in slipped edge stitches for a total of 30 sts.
Place marker ar beginning of round.
Work in the round using a K2, P1 rib until wrapper, or sides of cupcake please you.
Cut cardboard or plastic into a ~2” circle to create/reinforce base. Press into place, add a little stuffing to hold in place
Break Yarn. Switch to white & knit 2 rows.
Break Yarn & switch to Ombre or color of choice.
Knit one round.
Increase round: (K3, M1)* = 40 sts
Knit 4 rounds.
Begin Decreases:
Row 1: (K3, K2tog)* =32 sts
Row 2: Knit
Row 3: (K2, K2tog)* =24 sts
Row 4: Knit
Row 5: (K1, K2tog)* =16 sts
Row 6: Knit
(At this Point, stuff your cupcake!)
Row 7: (K2tog)* =8 sts
Row 8: Purl
Row 9: (P2tog)* =4 sts
Candle:
Break Yarn. Switch to White Yarn.
Work as 4-stitch i-cord for 2”. Bind Off. Seal closed & tie in end.
Flame:
~With yellow yarn, pick up one stitch & knit into it with one stitch.
~Knit into that one stitch front & back.
~Knit those two stitches.
~K1, M1, K1
~K1, K2 tog
~PSSO
Tie in end. I made my flame stand up by using my yarn needle to half-hitch knot the wick into stability.
EMBELLISH AT WILL!!!!
I used a two foot length of i-cord (stitched into a spiral over my icing) to imply piping on the cup cakes shown, but really the possibilities are endless.
*** Note the blue-ish cup cake shown has double the increases... so I guess I know how to make a mushroom now, as well!


2 comments:
Amigurumi cupcakes?
Oishisou!!!
Lafcadio-san
I love your cupcakes!
Post a Comment